
Blog
How to Clean a Weed Vaporiser Properly (UK Guide)

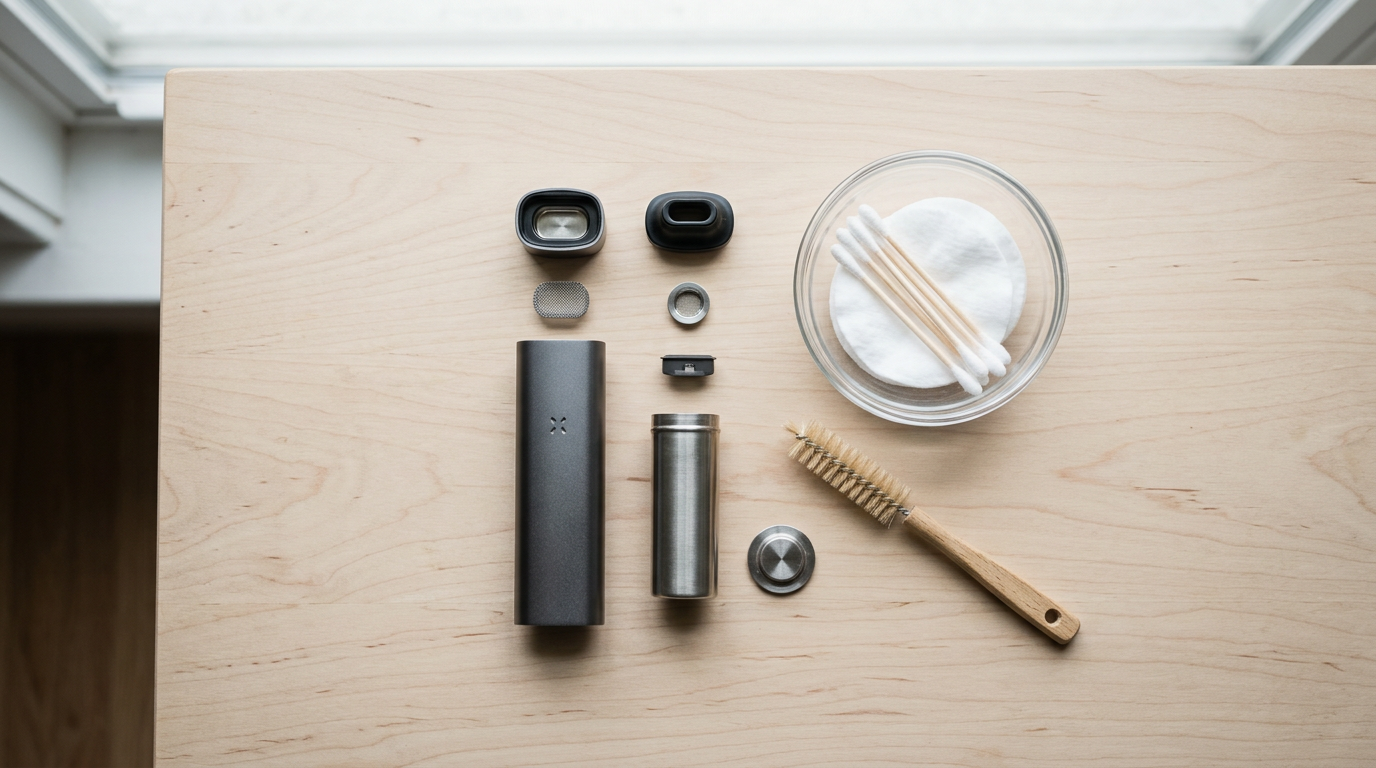
A vaporiser that is looked after tastes better, draws more easily and lasts longer. If you have been wondering how to clean a weed vaporiser without damaging it, the routine is simpler than most people expect: a quick brush-out after use, a deeper clean every week or two, and plenty of drying time.
This guide covers the essentials for dry herb devices. We could not find official UK regulator guidance on cleaning, so everything here draws on a UK medical cannabis news site and on manufacturer and retailer guides. Your device’s own manual always takes priority.
Why cleaning your vaporiser matters
Cannabis residue can build up inside a vaporiser over time. According to Cannabis Health, that build-up can reduce airflow and affect how well the device works.
Omura UK makes a similar point: skipping cleaning lets residue degrade flavour, block airflow and shorten the life of the device. In practice, a dull taste or a harder draw is often the first sign that it is time to clean.
What you will need
- A small, soft brush (many devices come with one)
- Cotton swabs
- High-percentage isopropyl alcohol (IPA), 90% or above
- Warm water, and mild soapy water if you prefer to avoid alcohol
- A clean, dry surface where parts can air-dry undisturbed
- Your manufacturer’s instructions
Step 1: Quick clean after each session
Omura’s guide recommends emptying the oven after every session and brushing the chamber and screen while they are still slightly warm. Warm residue tends to come away more easily than residue that has cooled and set.
This takes under a minute and stops build-up before it starts. It is the single habit that makes deeper cleans easier.
Step 2: Wipe-down every one to two weeks
Every one to two weeks, Omura suggests wiping the oven and vapour path with a cotton swab lightly dipped in high-percentage isopropyl alcohol. The word to notice is lightly: the swab should be damp, not dripping.
- Let the device cool and empty the chamber.
- Brush out any loose residue.
- Wipe the oven and the vapour path with the lightly dipped swab, using fresh swabs as they become discoloured.
- Leave everything to dry completely before using the device again.
Step 3: Deep clean removable parts
For a more thorough job, detach the parts that can safely come off. Omura says to soak removable glass and metal parts, such as the mouthpiece, screens and vapour path components, in 90%+ isopropyl alcohol, then rinse them with warm water.
Planet of the Vapes recommends soaking the mouthpiece, glass stem, filter screens and other dirty metal, glass or ceramic parts in either isopropyl alcohol or warm soapy water for 30 to 60 minutes.
Prefer to avoid alcohol?
Omura UK says you can use warm water and a soft brush on the detached oven and chamber instead. It may take a little more patience on stubborn residue, but it removes the question of alcohol reacting with any part of your device.
What to keep away from alcohol and water
This is where most cleaning mistakes happen. Check the following before anything goes into a bath.
The device body and battery
Never submerge the device body or battery. Omura UK is equally clear that the electronic body of any vape should never go into water.
Plastic, silicone and wood
- Cannabis Health notes that some cleaning products, including alcohol and acetone, can damage plastic components, so follow the manufacturer’s instructions.
- Infinity CBD, a UK site, advises keeping silicone O-rings and plastic parts out of the alcohol bath unless the manufacturer says otherwise.
- The same guide advises against using alcohol on wooden components.
If you are unsure whether a part is glass, metal, ceramic or something else, check the manual or ask the manufacturer before soaking it.
Drying: do not rush it
Cannabis Health says any cleaning product should be completely removed before the device is used again. Omura recommends letting parts air-dry, typically 30 to 60 minutes, until no alcohol smell remains.
If you can still smell alcohol, give it longer. Reassemble only when every part is fully dry.
Handling isopropyl alcohol sensibly
Infinity CBD points out that isopropyl alcohol is extremely flammable and can dry out and crack skin. Keep it away from heat and naked flames, and think about protecting your hands if you are cleaning regularly. Store it somewhere safe, away from children.
A simple routine to follow
| When | What to do |
|---|---|
| After each session | Empty the oven and brush the chamber and screen while slightly warm |
| Every 1 to 2 weeks | Wipe the oven and vapour path with a lightly dipped IPA swab, or soak removable glass and metal parts |
| After any wet clean | Air-dry fully, until no alcohol smell remains |
| Always | Keep the body and battery out of liquid, and follow the manufacturer’s guidance |
Choosing a vaporiser that is easy to maintain
Cleaning is much less of a chore when the device is designed for it. Removable mouthpieces, accessible chambers and clearly labelled materials all help. If you are still choosing, our round-up of the 10 best weed vaporisers is a good place to compare options. If you are interested in why vaporisers feature in prescribing, see our guide to medical cannabis in the UK.
Final thoughts
Knowing how to clean a weed vaporiser properly comes down to a few habits: brush out after each use, wipe or soak the right parts every one to two weeks, keep electronics dry, and let everything dry fully before the next session. Check which parts tolerate alcohol, and when in doubt, go with the manufacturer’s advice. A few minutes of care keeps airflow open and flavour cleaner, and helps the device last.